Table of Contents
PREPARATION
Before creating your first campaign you need to go through a few questions:
- Is the organizational part taken care of?
- Are you using latest LUCY version and updated all templates? Did you make sure to reboot after the update?
- If you send emails via LUCY: did you set a hostname for LUCY's mail server?
- Did you already reserve a domain that points to LUCY?
- Are the necessary ports open from and to LUCY?
- Is LUCY able to send mails correctly? This can be tested under support/test mail.
- Do you have the correct time/time zone set in advanced settings?
- Does your hardware meet the Requirements?
- Did you whitelist LUCY's domain/IP and did you make sure that mails don't end up in SPAM?
- Does your License meet the requirements for your campaign?
STEP 1 - Create a New Campaign
After the login, you can create your first phishing campaign by pressing the button “New Campaign”. This will start Campaign Wizard.
STEP 2 - Select Type of a Campaign
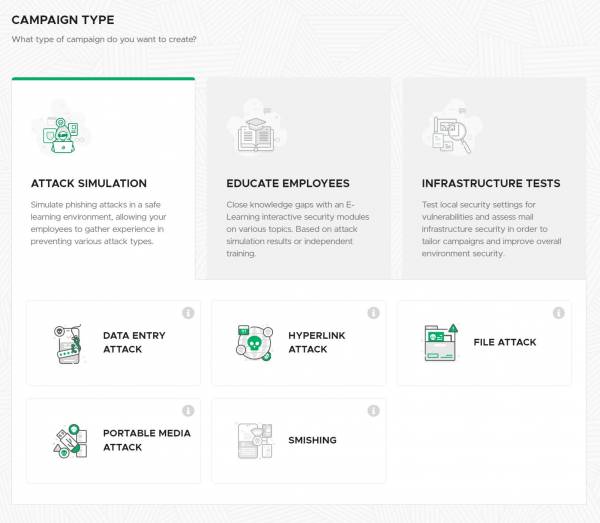
A wizard menu appears which lets you choose the type of your campaign. There are several types:
- Attack Simulation
- Educate Employees
- Infrastructure Tests
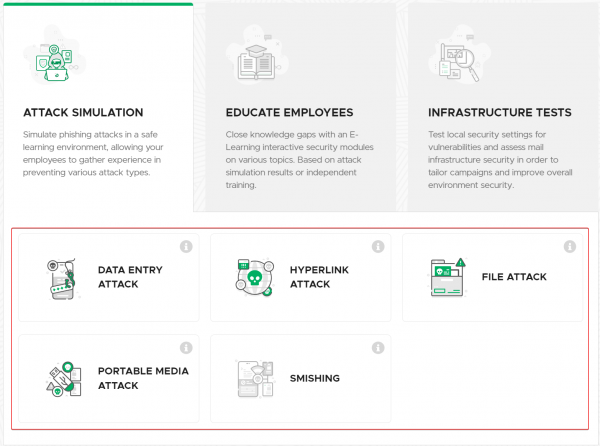
Next, you can select the type of Attack.
There are also several types:
- Data Entry Attack
- Hyperlink Attack
- File Attack
- Portable Media Attack
- Smishing
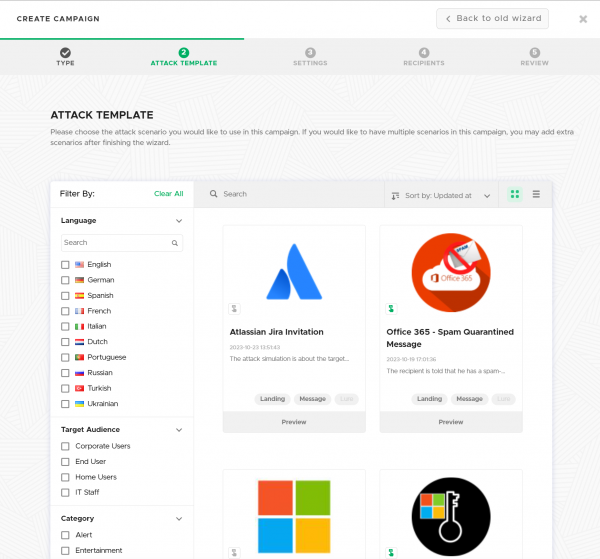
STEP 3 - Choose Attack Template
At this step, you'll see the list of templates that your LUCY instance has available. You can preview each template before selecting it by clicking on the "Preview" button. When you have selected your template, simply click next.
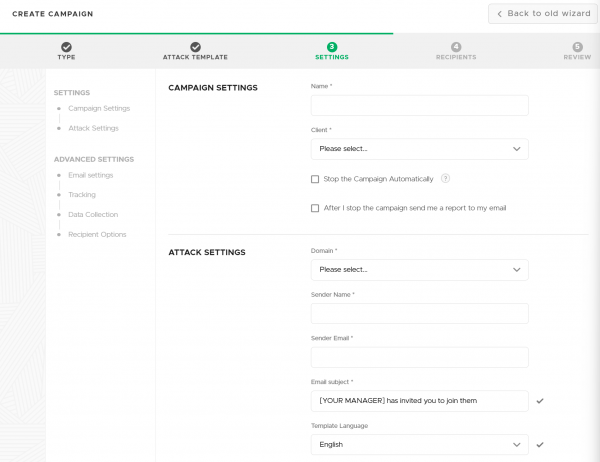
STEP 4 - Campaign Base Settings
Domain - Domain name for your scenario. It is possible to set an IP address as well. LUCY detects its local and external addresses. The addresses are available in the drop-down list. However, you can set an IP address manually. A domain name can be set as well if you have it.
Sender Name - Define a name that will be seen by recipients of the campaign in the field "Mail From".
More can be found here
Sender Email - Insert an email address that will be set by Lucy as the email address of a sender. More in the same article.
Subject - Insert text for the subject of your phishing email.
Now, select "Next".
STEP 5 - Add Recipients
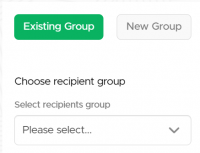
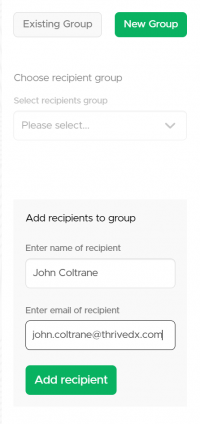
There are 2 options:
Select Existing Group of recipients.
More in this article.
Enter Manually each recipient. Each time you press the "Add recipient" button, a new field appears allowing you to enter the email address and name of each recipient for this campaign. The name is required for some templates to insert a name variable in the text of a phishing email. This makes attacks more "personal".
As soon as you are done with this step, use the "Next" button.
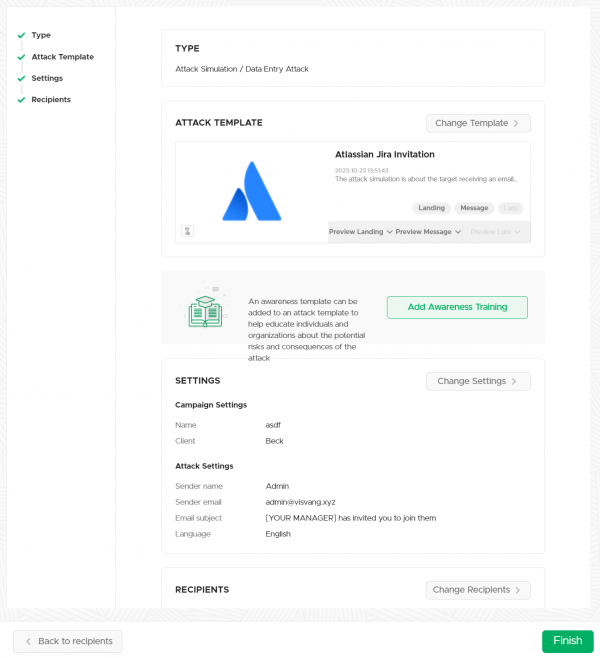
STEP 6 - Review
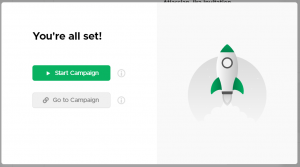
Review the information that you've entered. If everything is correct, click the "Finish" button. If you see a typo or want to modify something, hover over the list of steps and click on any desired. It is possible to switch quickly between the Wizard Steps with a single mouse click.


